Getting Started & Onboarding
This page is part of the official MyTwin product documentation.
Overview
The onboarding flow guides new users through their first contact with MyTwin, from account creation to the first scan.
1. Creating an account
You can create an account directly from app.getmytwin.io or via a partner link.
Required fields:
- Name
- Email address
- Password + confirmation
- Plan selection (Free / Light / Advanced)
- Payment details for paid plans (via Stripe or PayPal)
MyTwin never stores raw payment card data.
2. Email verification (Free plan)
For Free accounts:
- You receive a verification email.
- Click the link to confirm ownership.
- Your account is activated.
Paid plans are activated as soon as payment succeeds; the email is still sent as confirmation.
3. First login
- Go to the login page.
- Enter your email and password.
- Optionally enable “remember me” on your personal device.
- If 2FA is enabled, enter your 6‑digit TOTP code.
4. Initial scan
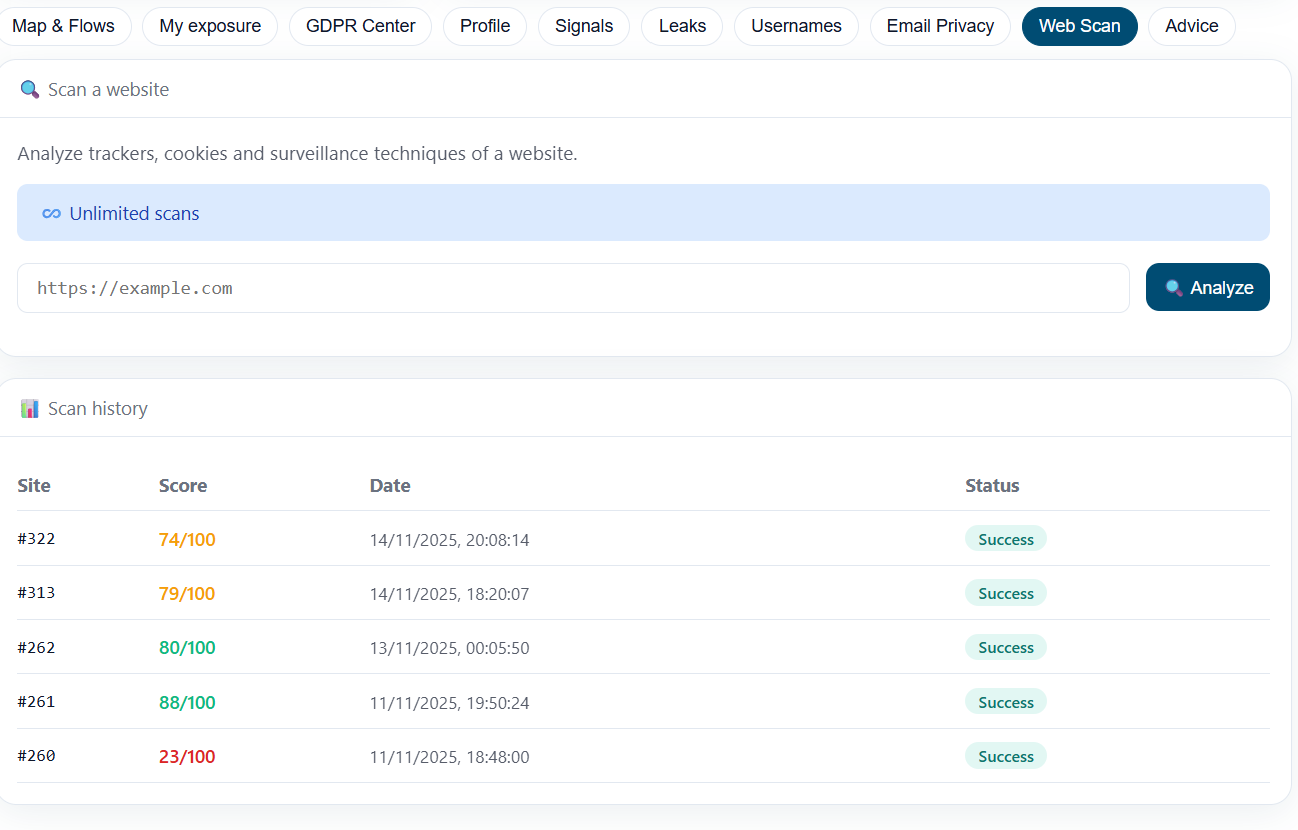
After first login, you are encouraged to:
- add at least one email address to monitor,
- optionally add one or more usernames,
- trigger an initial scan.

This populates:
- Dashboard
- Leaks
- Emails
- Usernames
- Signals
- Advice
5. First visit to the dashboard
You are redirected to the Dashboard, where you can see:
- your initial global score,
- recent leaks,
- exposure indicators,
- first recommendations.
Best practices
- Start with one or two identities, then expand.
- Read the explanation texts and tooltips.
- Use Advice as a to‑do list to guide your first actions.